How to Create Large-Scale 3D Environments – Part II

Part I of our article dealt with a number of software tools that could be used in the creation of a bright and sharp 3D environment – as told by Playsense’s Art Supervisor, Andrey Petrukovich. In Part Two, we’ll consider the use of those tools (and more) in a particular case: the creation of a mountain landscape.
Creating Mountains in GAEA
.png)
Let’s try and use our toolset to solve a particular task. We need to create a mountainous landscape. Let’s use an image from a movie as a reference.
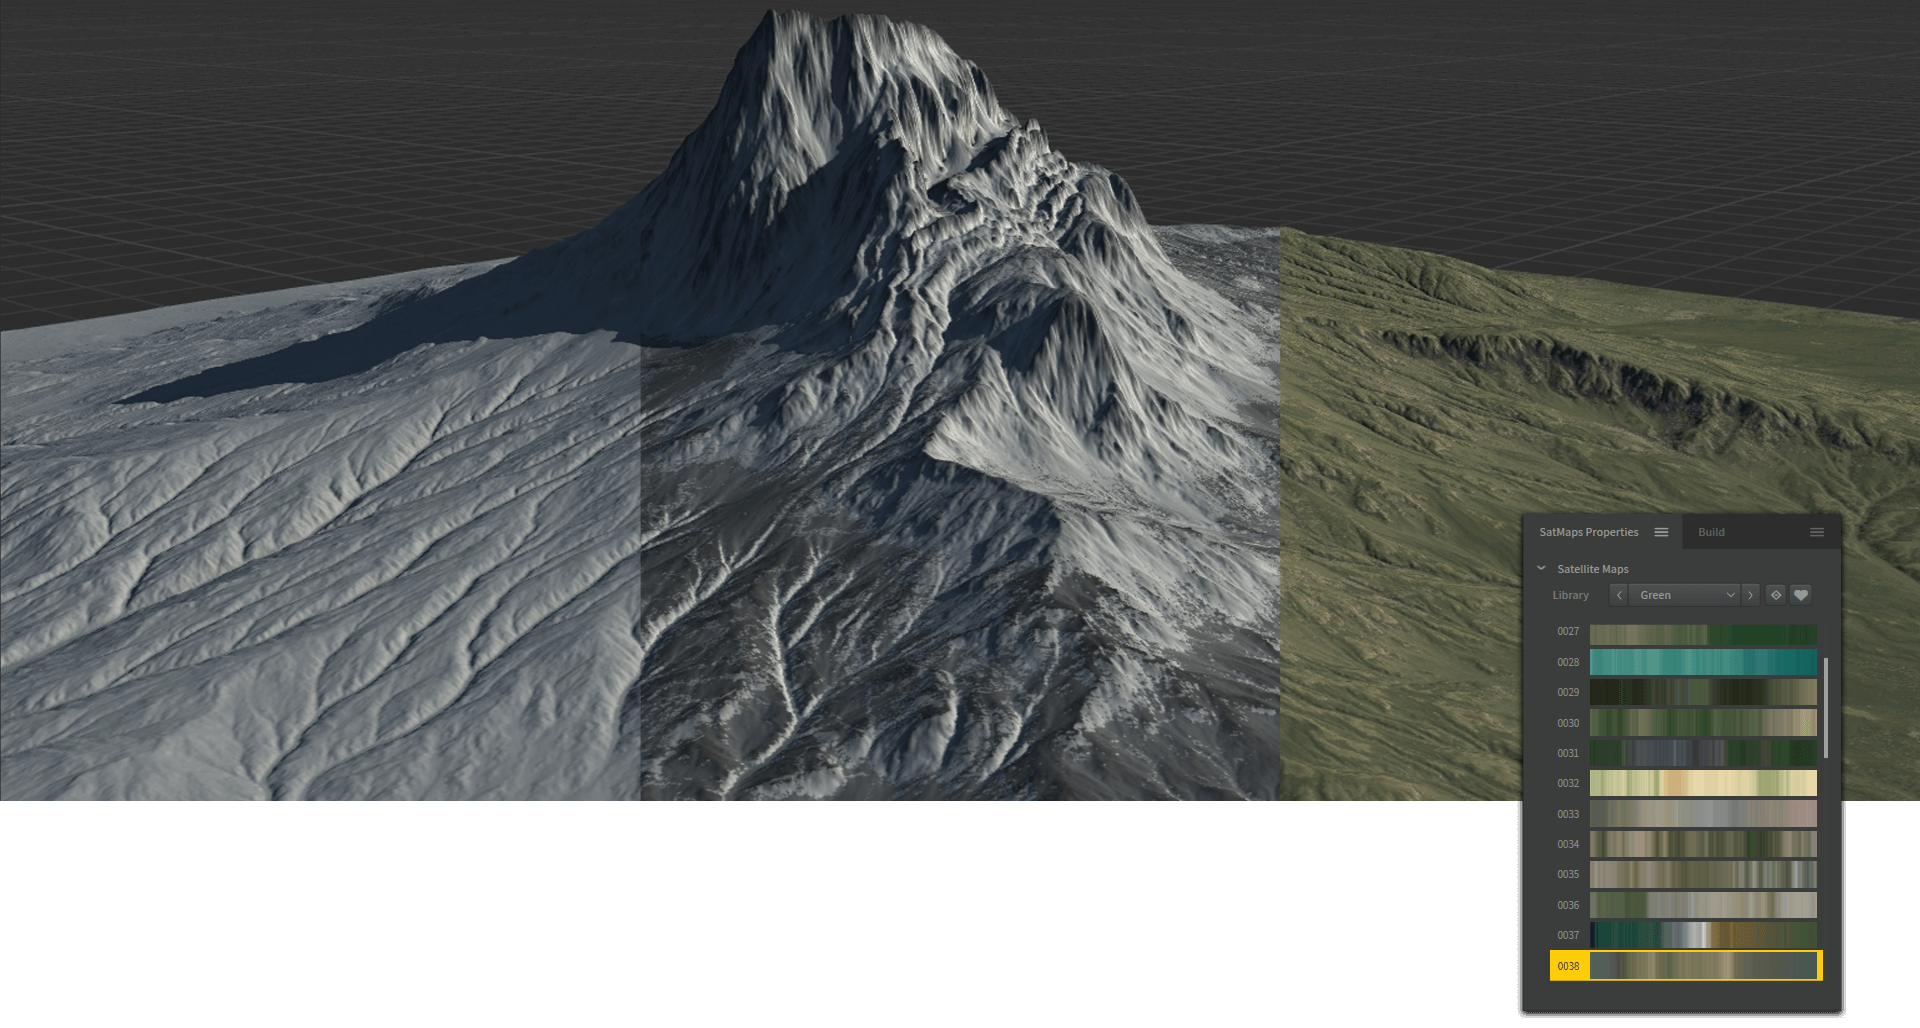
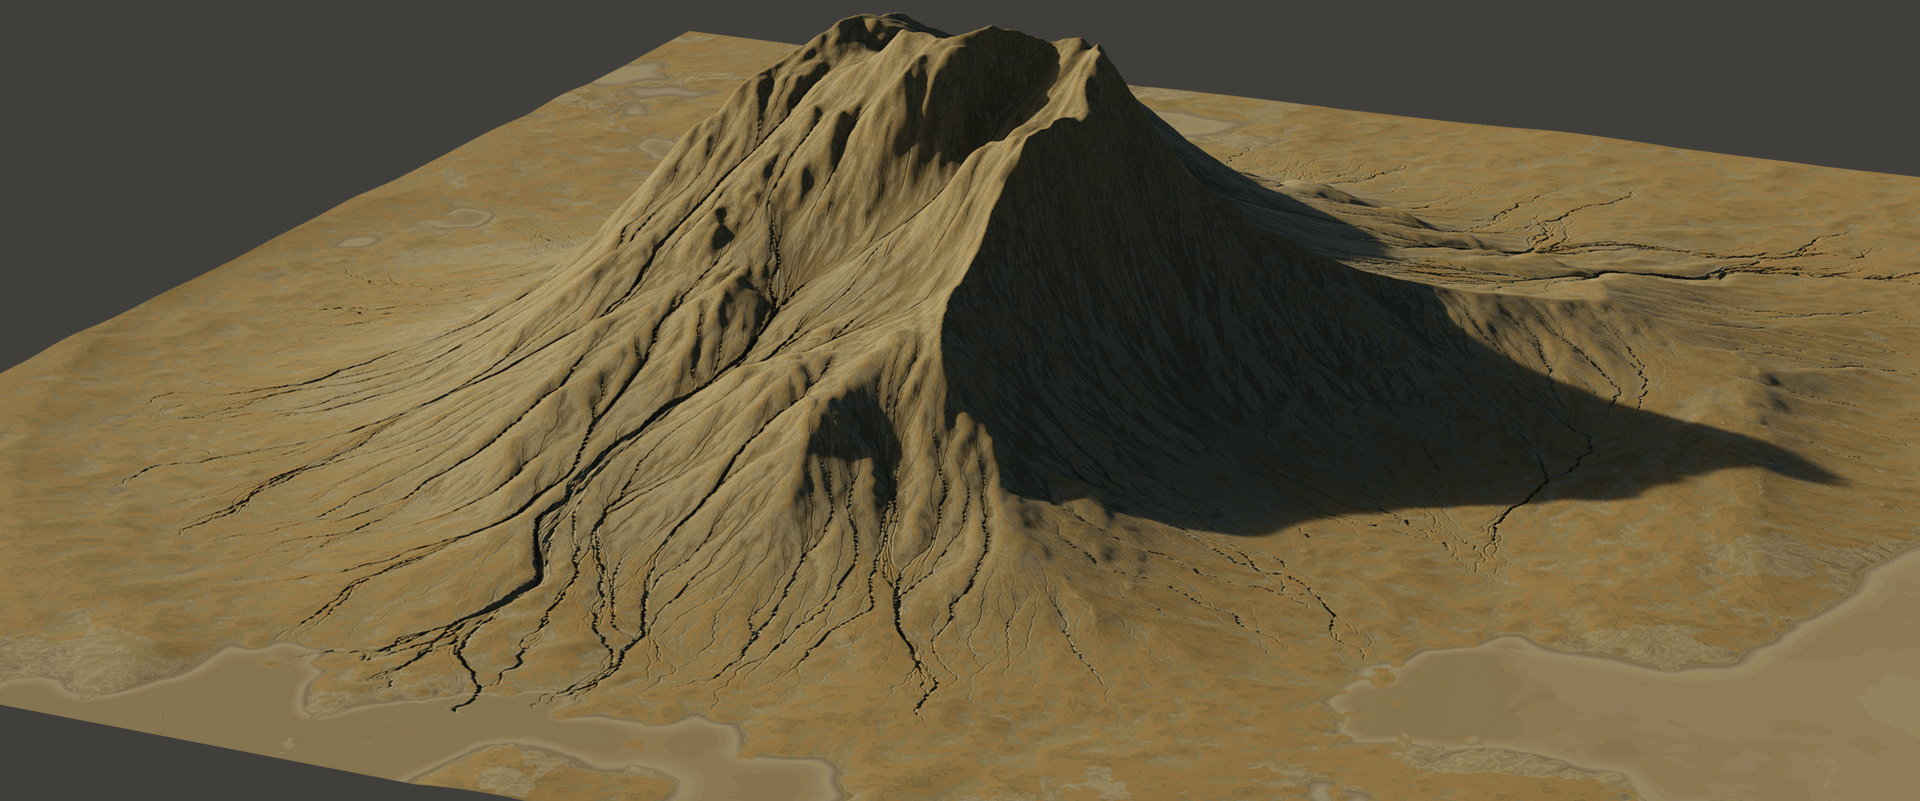
In GAEA, you can create a mountain (if you don’t need highly detailed terrain) by using just a couple of nodes. We put in the required settings in the mountain generator, then add the erosion filter: i.e., a more natural look and feel to the mountain face with its slopes, crevices, etc. Then we add the Texture node, a black-and-white overlay that’s generated automatically. In accordance with the steepness of the mountain and the number of bumps and ridges it’s colored in various shades of gray. Then we add the SatMapSatMaps Texturing
Over the Texture node we add the SatMap gradient. There’s a number of gradients in GAEA that are sorted into categories – green, mountainous, etc. According to the software’s creators, all those gradient spreads’ colors are based on satellite images of actual landscapes. It allows for some interesting possibilities with huge changes in both color and feel of the environments. You can also edit the gradient by increasing its brightness and other specs. texture, a quick and dirty type of texturing that could be used if there’s no need for a great amount of detail.
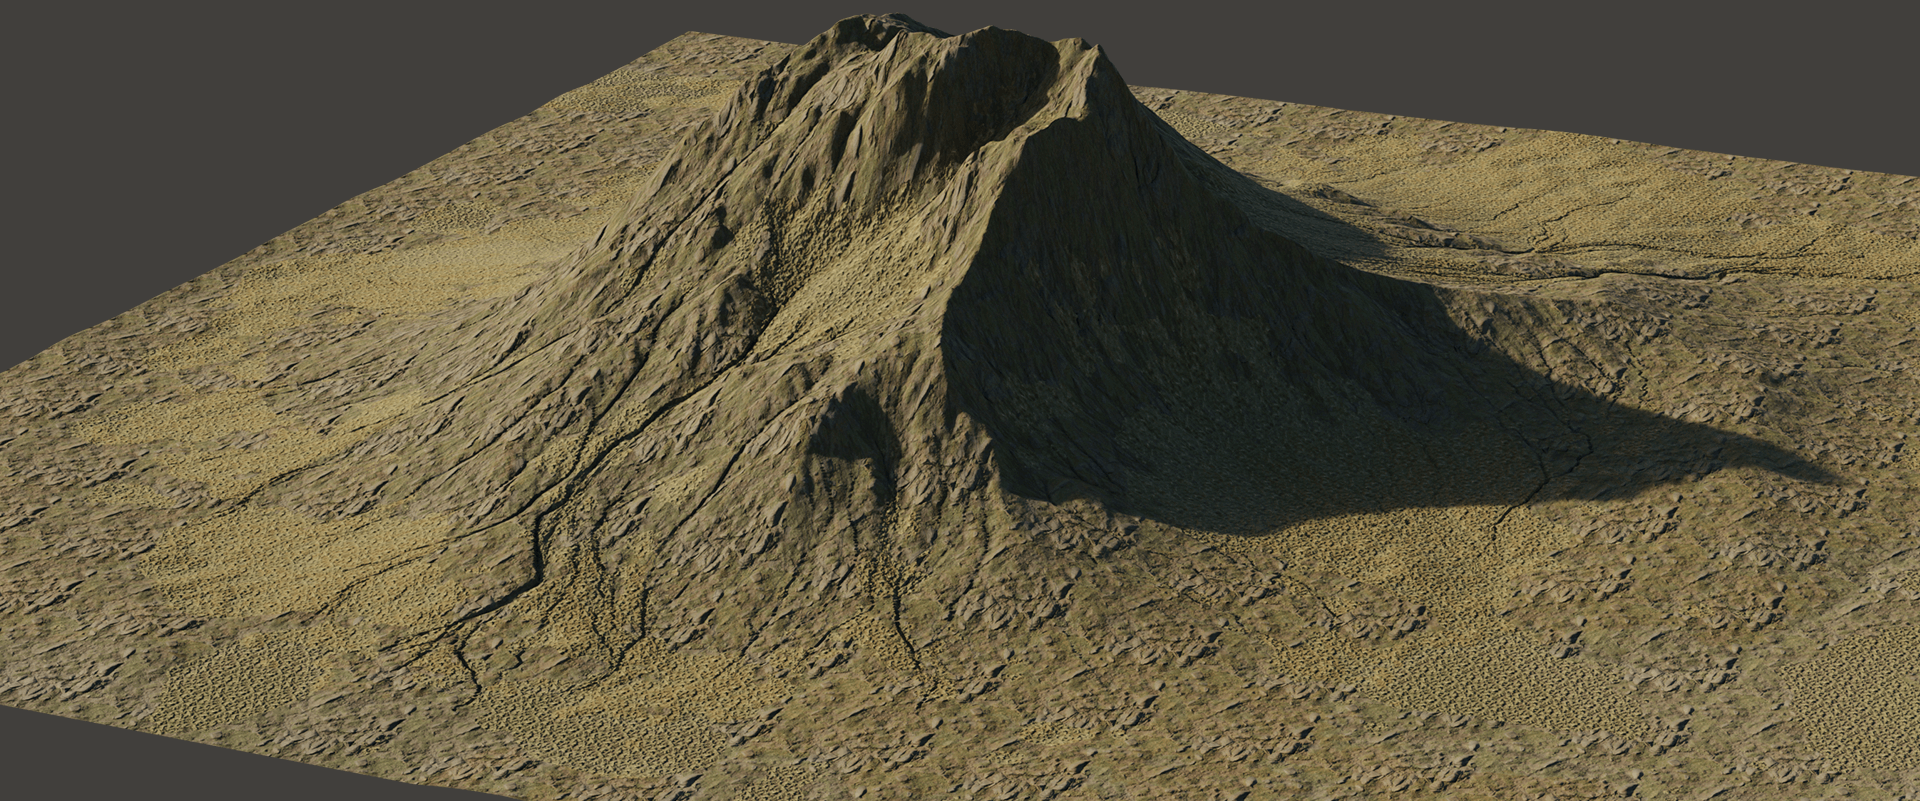
If the model requires more surface detailing, we can add a mix of both sheet and thermal erosion. Sheet erosion shows the deterioration of a landscape by water, and thermal by the wind and temperature. Then we can add the Surface node — a kind of sharpening that underscores every detail in the landscape — and then add Micro Erosion that’ll create small gullies and ridges, adding extra details. That’s the bare minimum; there’s a number of nodes in the software that could be added further on.
Terragen
Next, we add clouds in Terragen. For this, we need to remove the entire landscape rendering, leaving just a plain planet, over which we add two cloud layers to create the sky. The first layer can be placed lower or higher, with increased or decreased thickness, to create the feel of the general cloudscape, and the second layer is rendered darker and thicker, imitating cloud formations. The resulting image depends on the task at hand, but the main takeaway is extremely realistic clouds (that are much harder to do in a standard 3D package).

After outputting the image, we create, if required, a HDR spherical image for the lighting of the scene — which is super-easy in Terragen thanks to the spherical camera that captures HDR in 360 degrees and it can also be used as a light source.
Composing the Scene in Blender
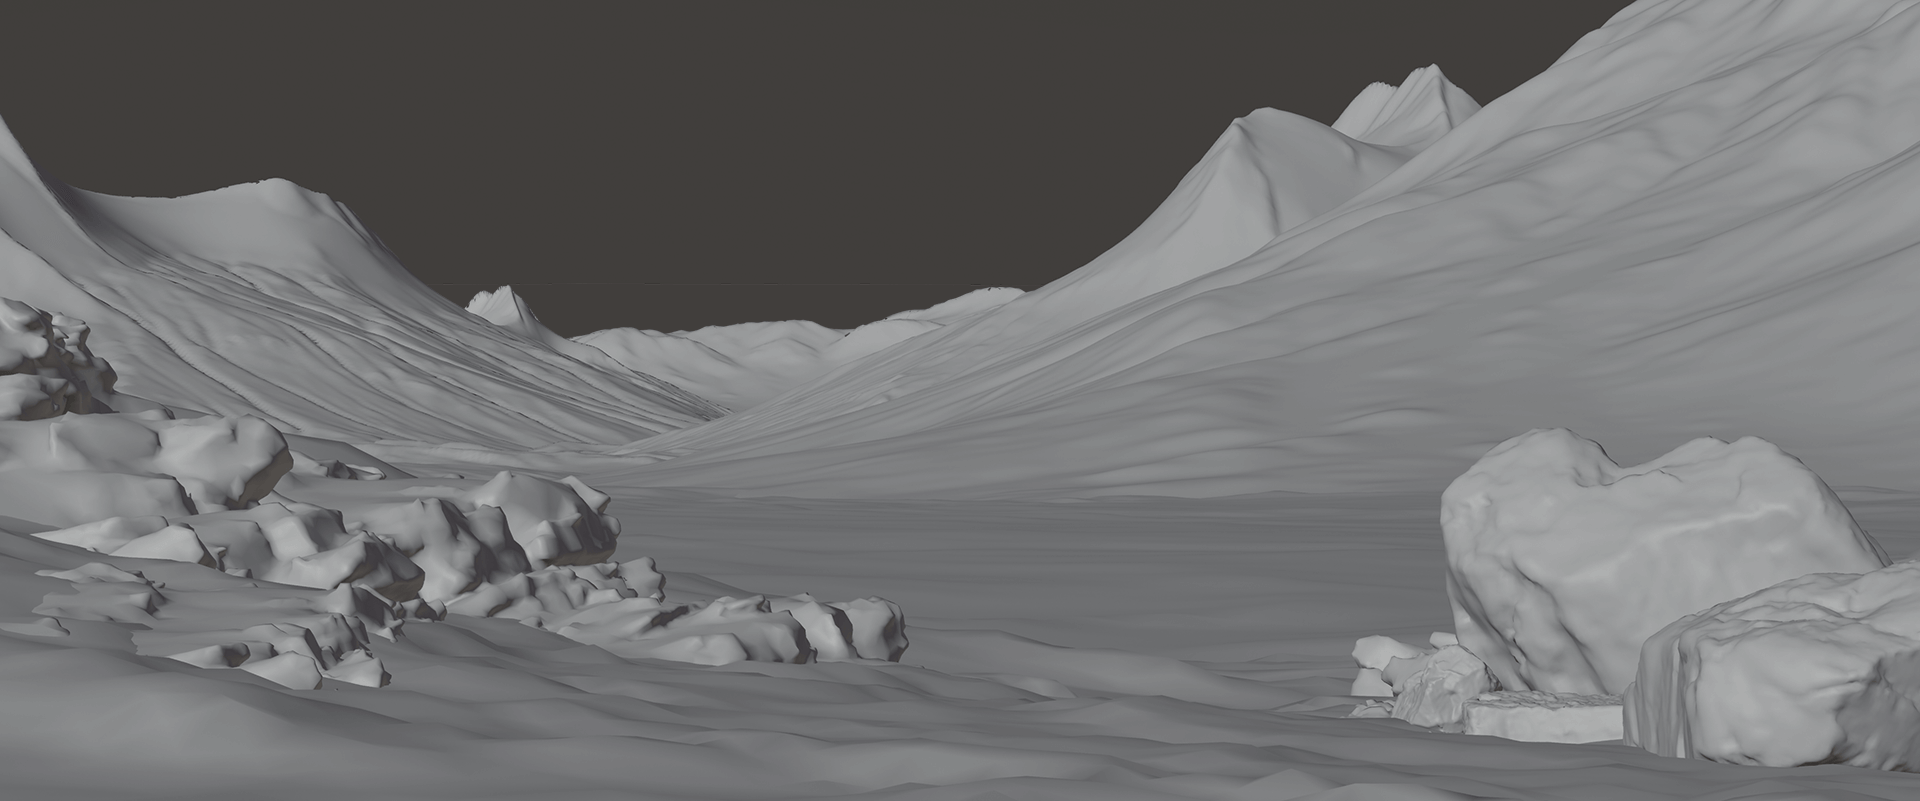
Then we move over to Blender for the final composing of the scene. For example, we could have several mountain models for the middle and far backgrounds, and now we need to place them in the landscape.
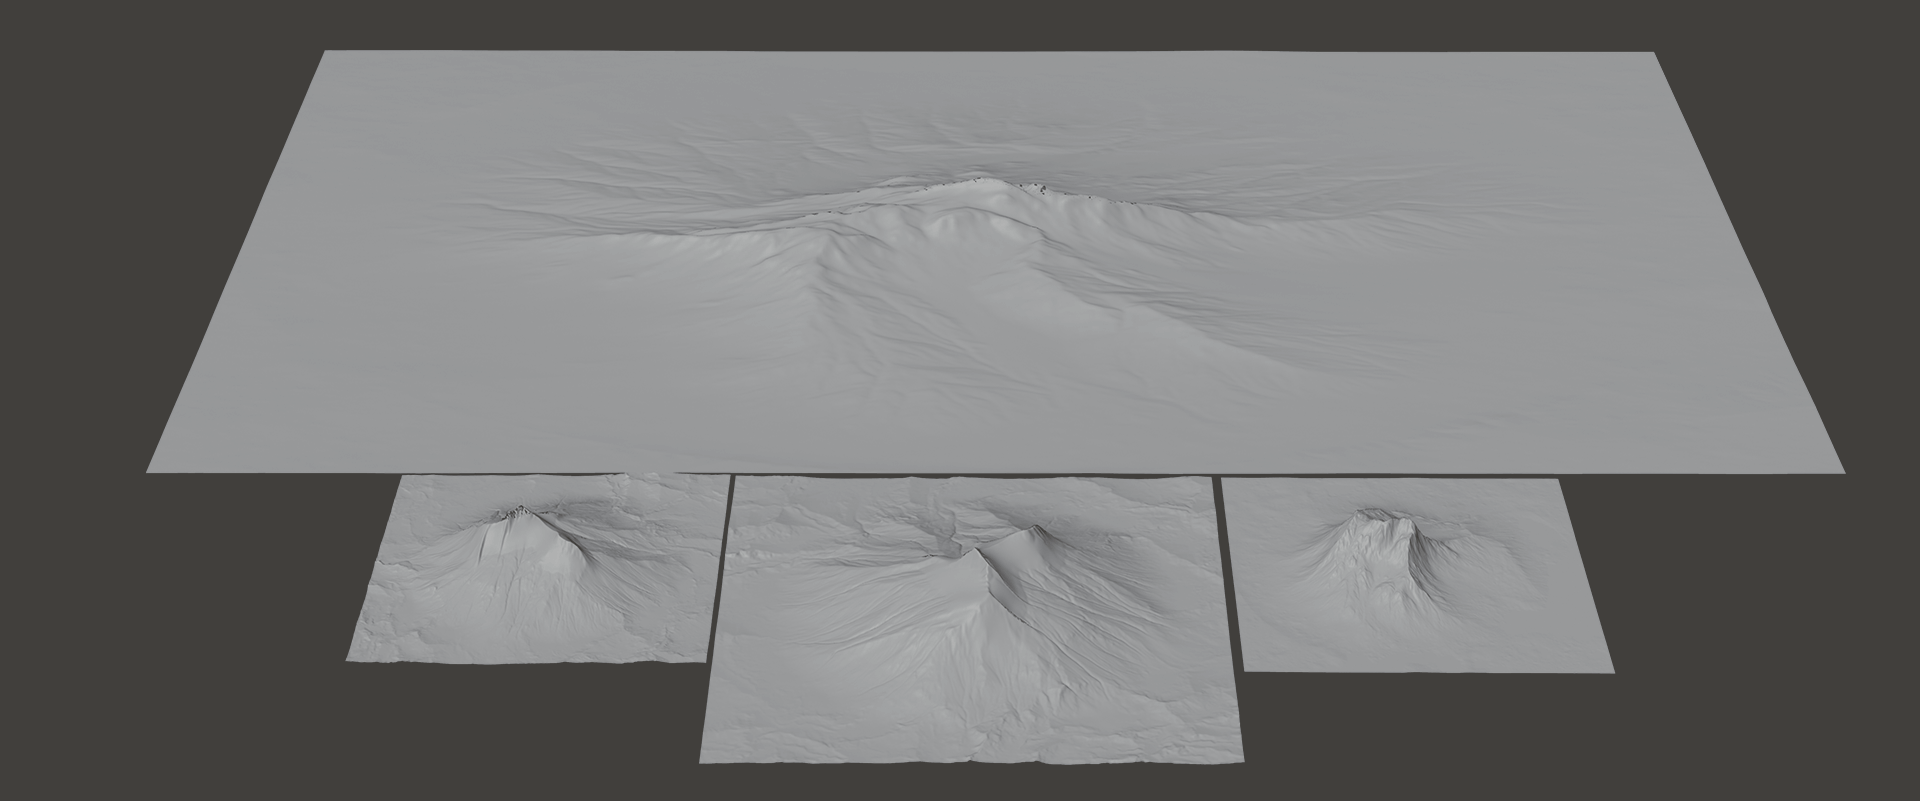
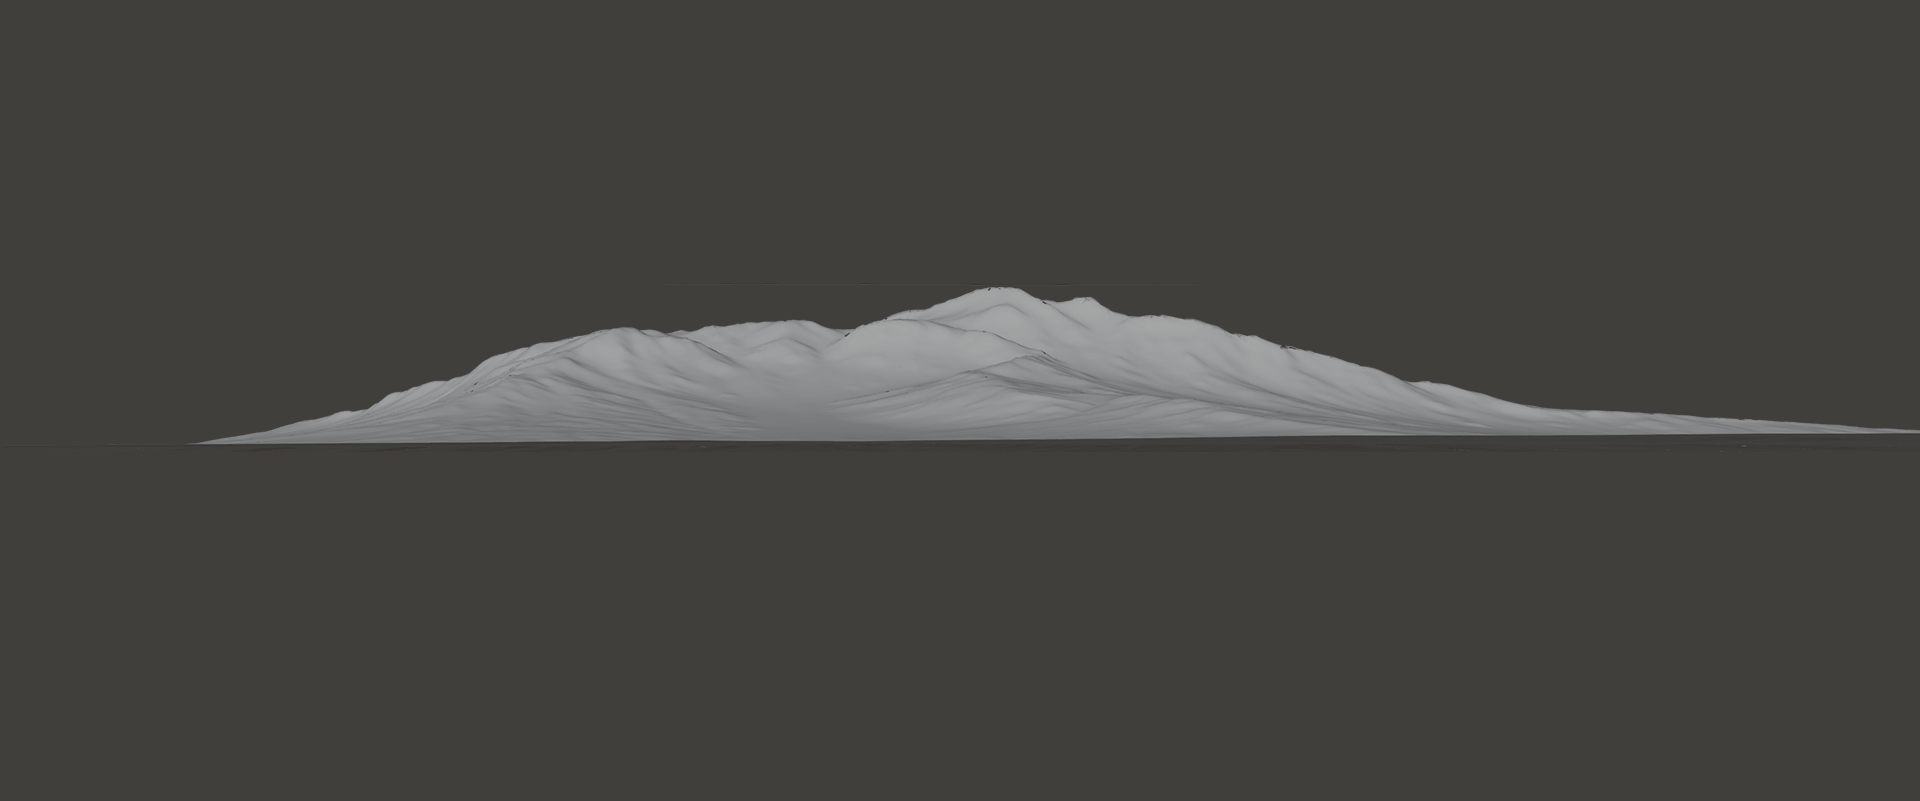
That’s a far-off view:
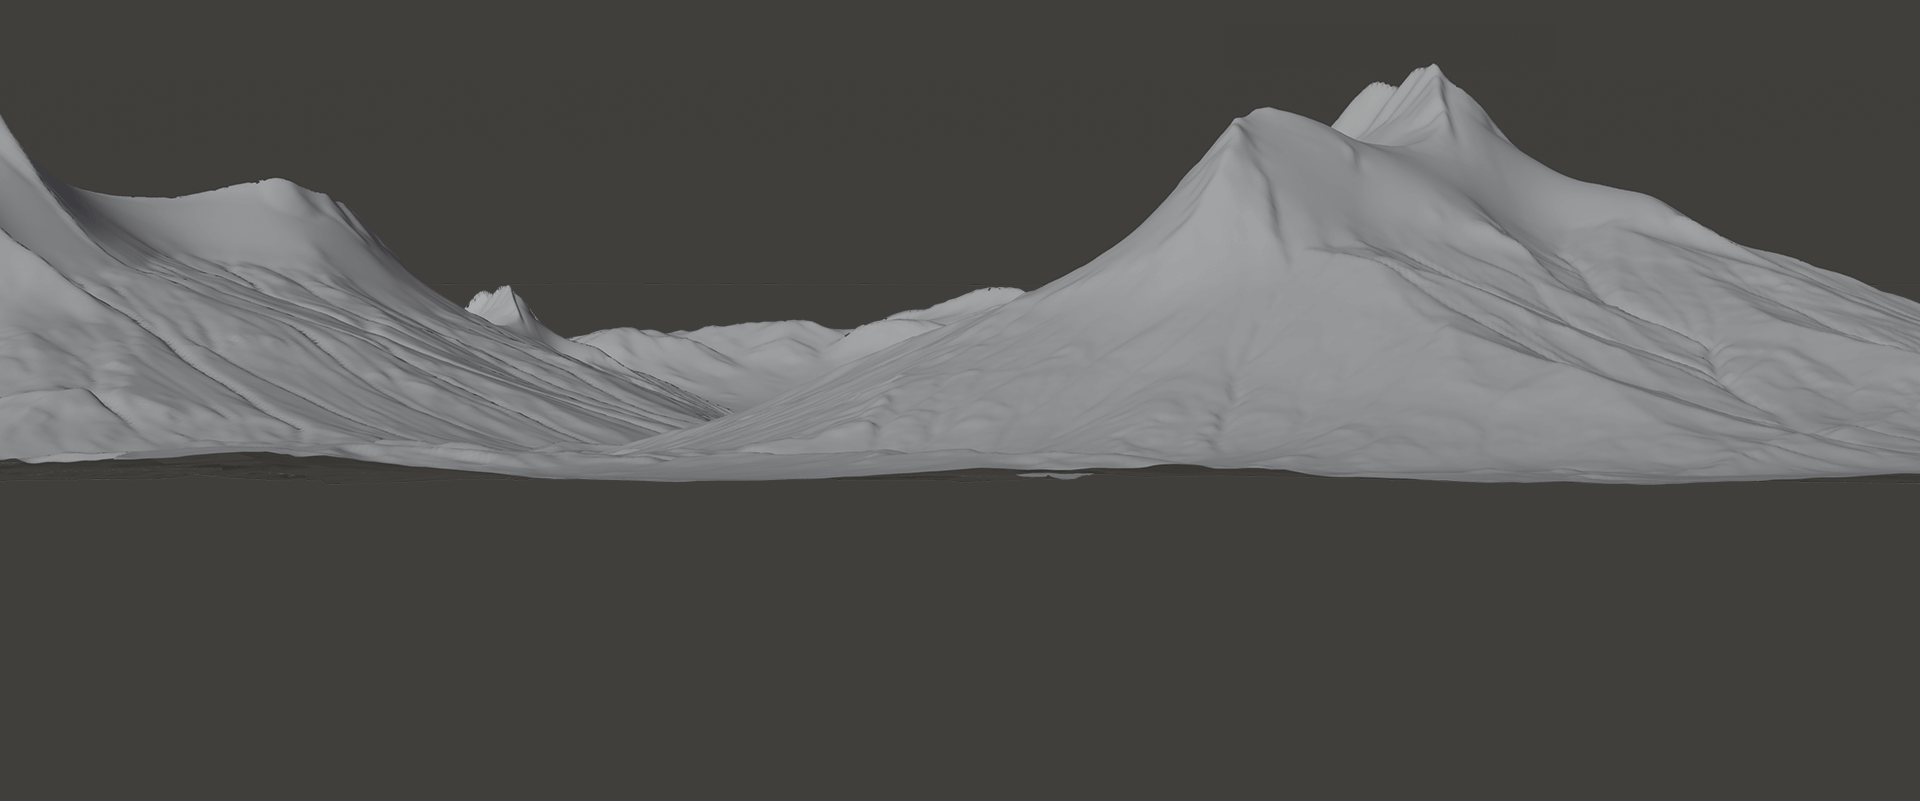
And that’s a middle view:
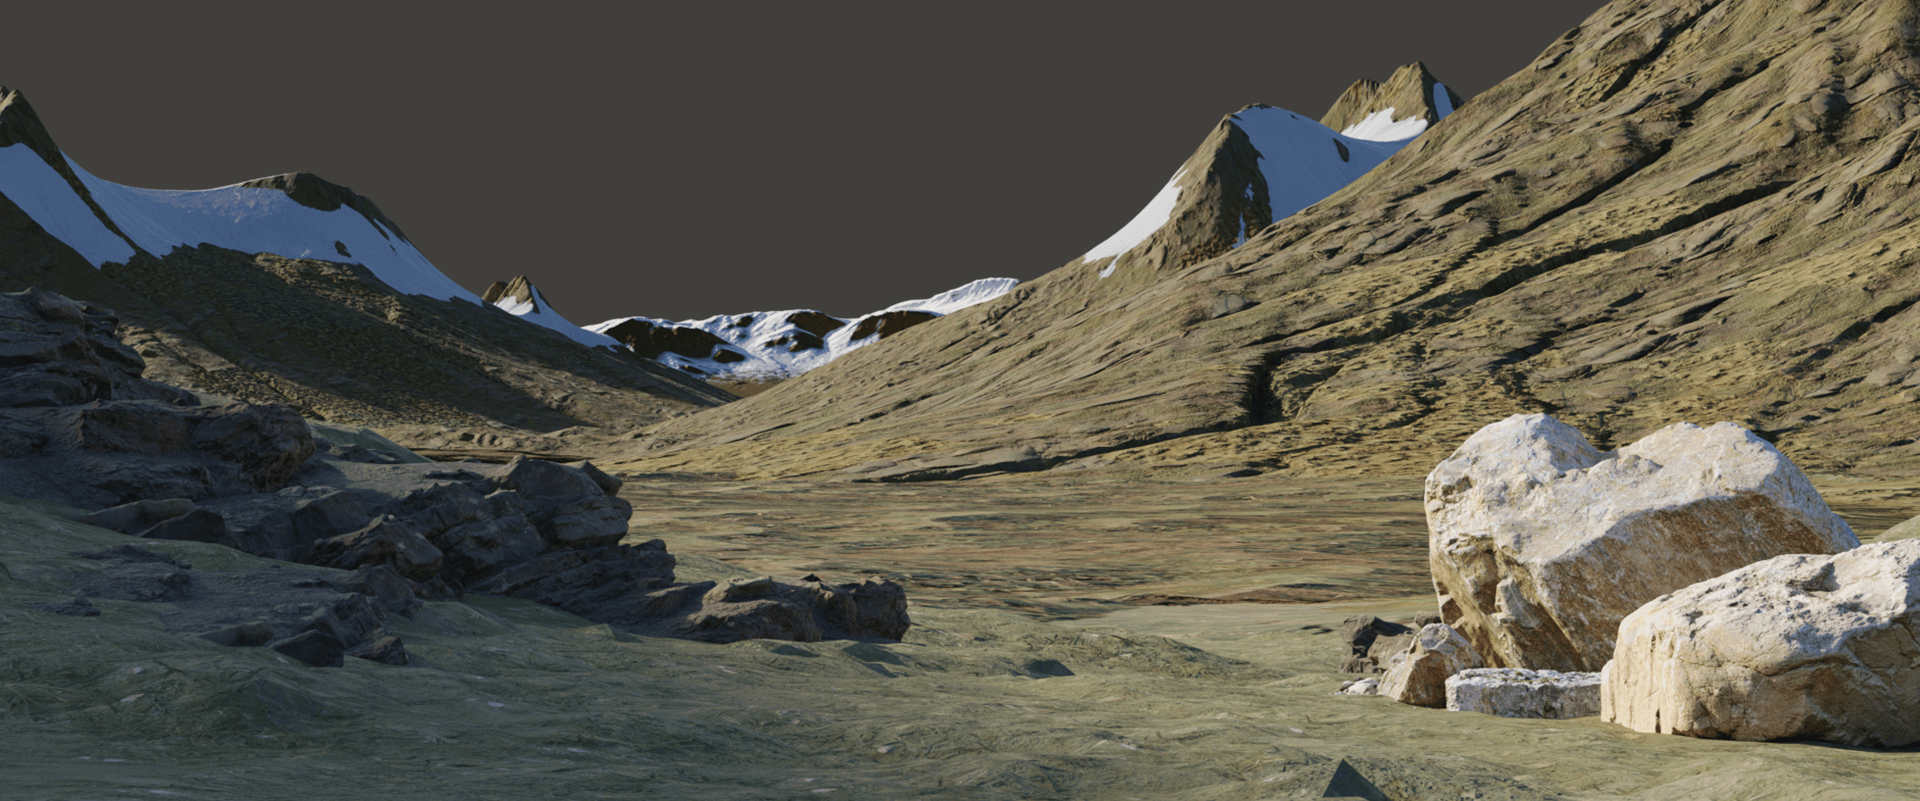
A mid-range view, including the entirety of the landscape:

In the foreground, as a rule, we use photogrammetric scans with the most realistic-looking objects. This allows for the creation of a photorealistic foreground.
Mountain Terrain
There’s no point in making difficult terrain in GAEA, as no output resolution – even in 8K – is enough for a realistic rendering. We’d still have to add additional megascan textures over the default terrain. So, at Playsense we generate a simple, plain material that creates the terrain’s basic coloring, and then, through GAEA overlays, add new tile materials that have the required definition and surface detail. If required, we can add displacement for a more interesting and natural look.
We stretch a default megascan over a SatMap default material.

Additionally, we overlay another rock-based material, using displacement to create the illusion of object scattering (which we aren’t actually using). Also, we use either bump mapping or displacement to create erosion nodes – the heightmap of the erosion with more pronounced ridges and grooves adds character and presence to the mountain face.
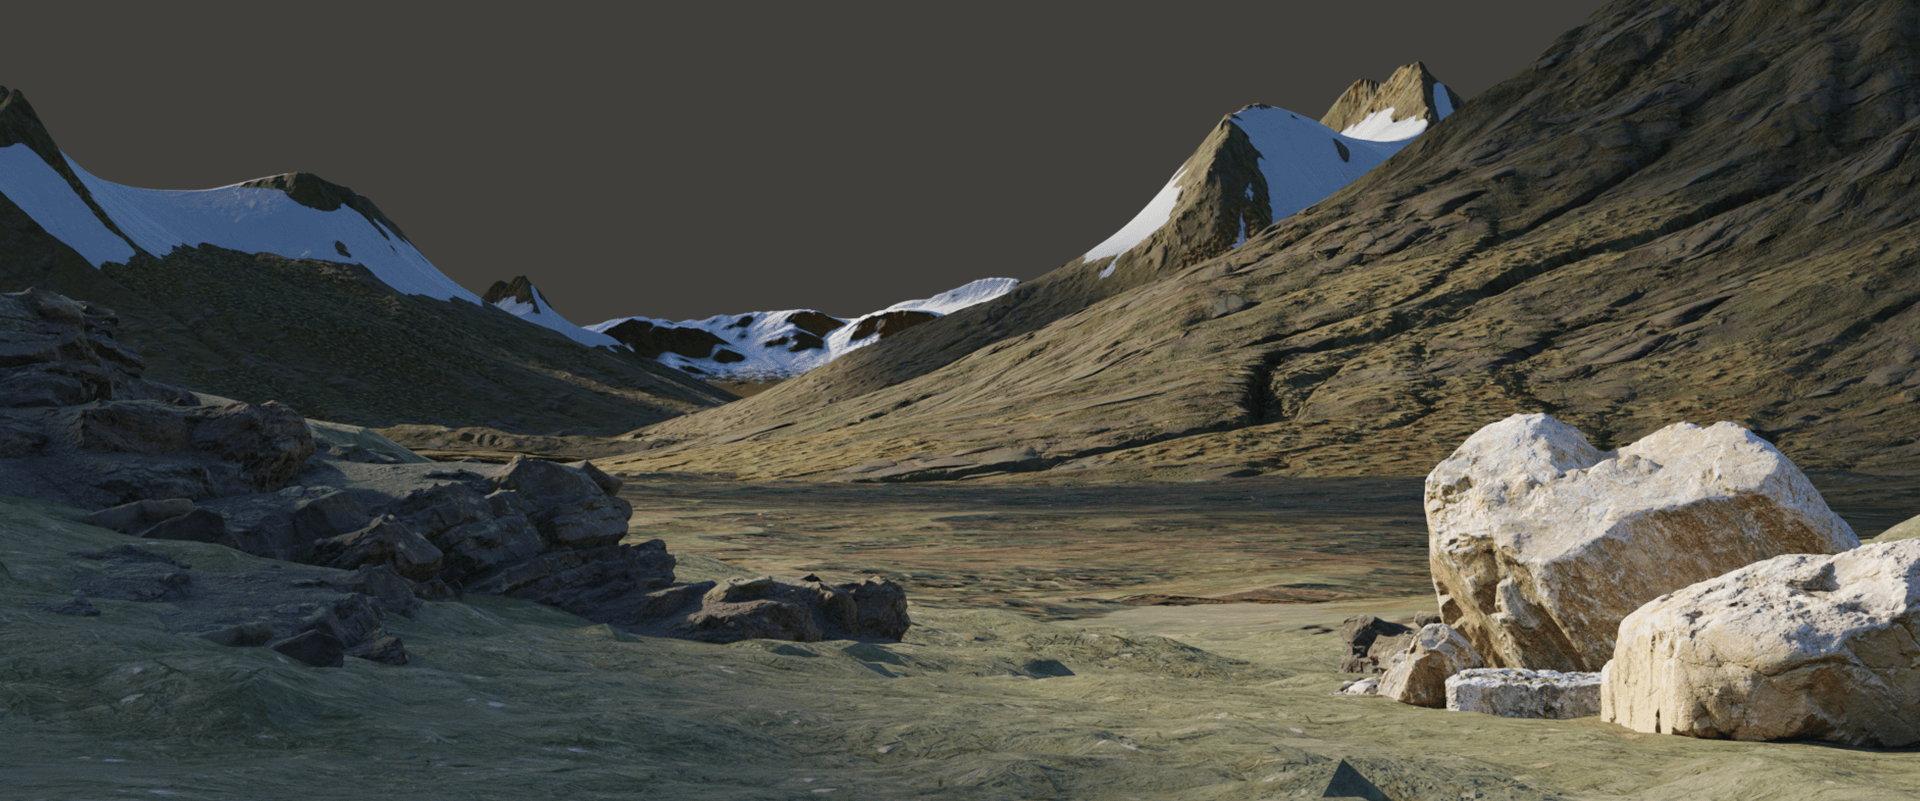
So, we have a scene like this one. Next, we add GAEA snow caps to the far-off mountains.
We add cloud shadows.
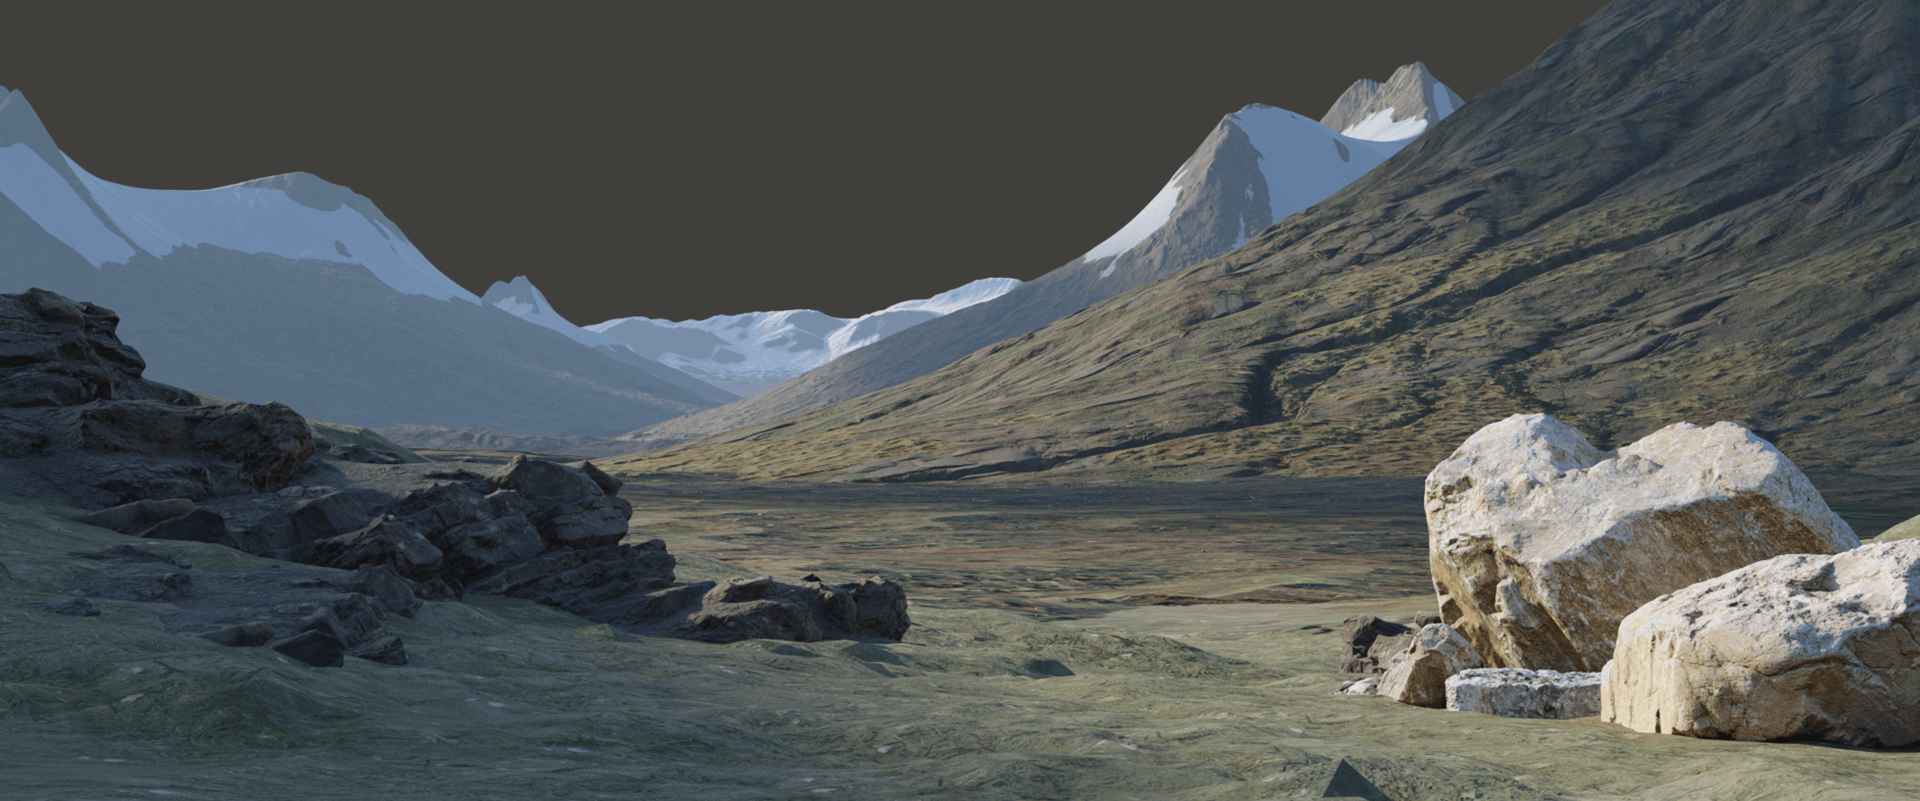
We add atmospheric distortion in Blender.
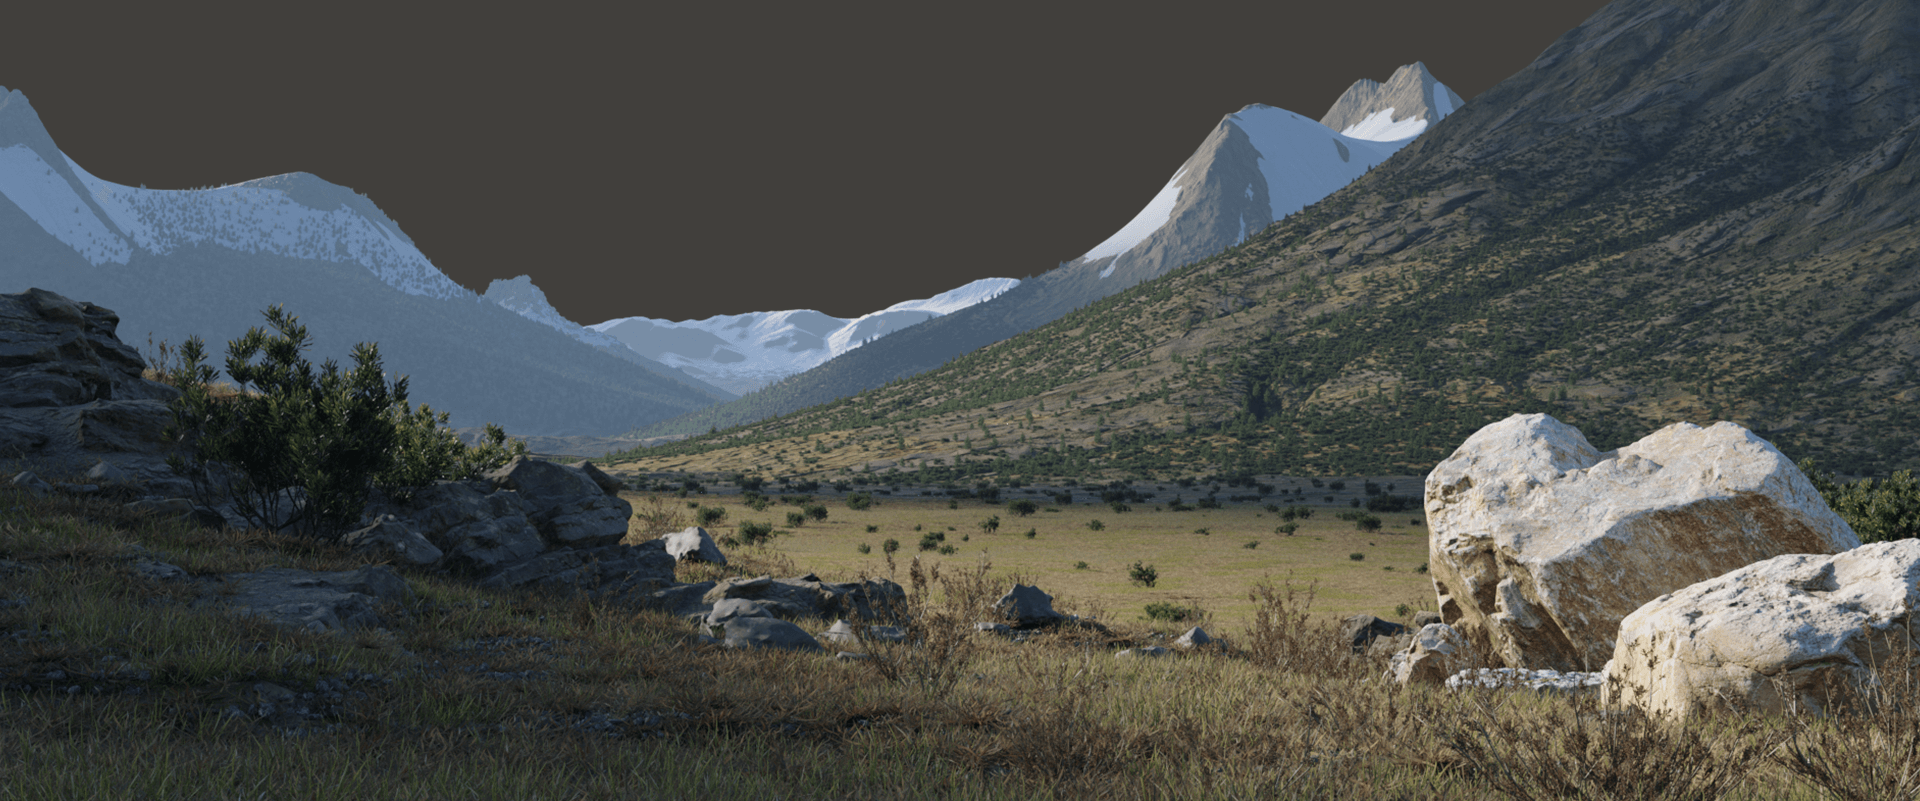
Then we scatter the objects in Blender, using the Scatter plugin. It’s Blender’s only plugin of this kind. Both in scale and in the processes involved it’s close to FOREST PACK.
Composing and Post-Processing
Let’s do some simple composing on Blender — by adding extra mist in the background and the shade from the clouds.
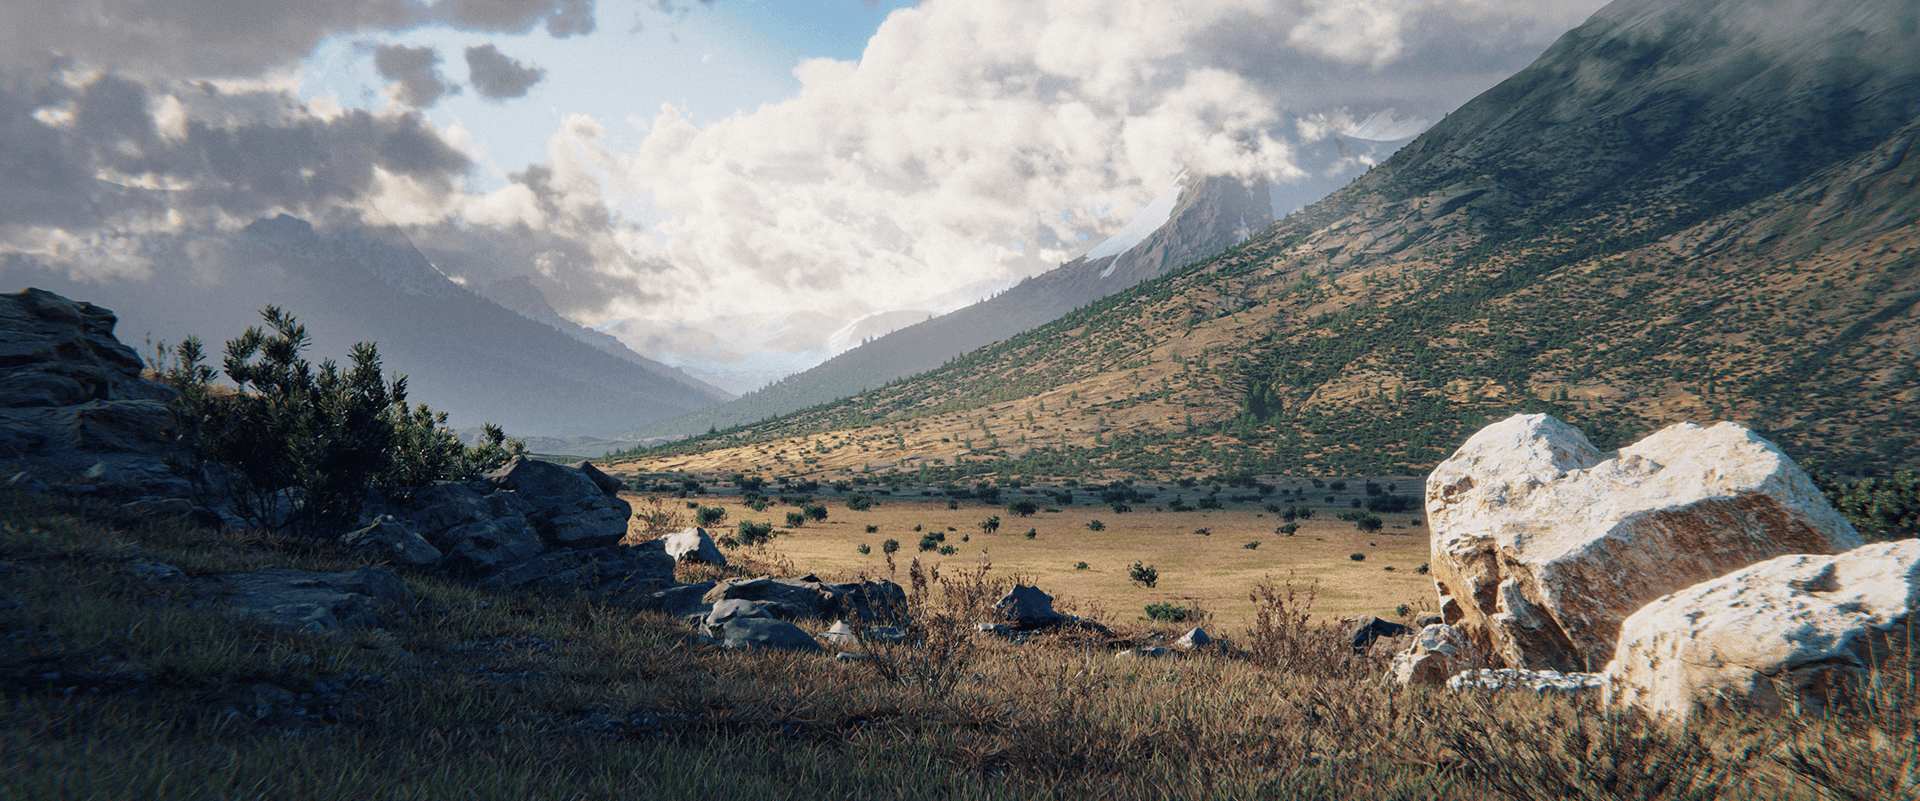
We put the clouds in with the help of the depth map that allows for them to be rendered organically into the landscape where they will correctly cross 3D objects.
Next is some light color correction, adding the Glare effect, bright objects’ radiance and chromatic aberrations. We could do it all in Blender as, in our eyes, this software is better suited for the task than Photoshop.
The last touches are added in Photoshop: easy post-processing over some light color correction, and our scene is finished:
Conclusions
Anyone can create beautiful 3D images of massive environments just by using commonly available software and a PC with no extraordinary performance capabilities. Graphics card rendering allows for a rather quick creation of the environments.
But the technology keeps evolving, and if you’re seriously considering the creation of 3D environments, you should consider the use of a real-time rendering engine that’s all the rage nowadays. Both Unreal Engine and Unity, in capable hands, can output images that could be considered photorealistic. It’s obvious that many serious developers of rendering software are considering real-time rendering and are making moves in this direction. It looks like the future belongs to these guys.